Reporting
Accessing Reports
Reports can be accessed from a couple of different locations in METALFORM EDU.
- Option 1 - My Dashboard page:
- On the bottom right side of the My Dashboard page is the Reports block. Click on a report here to access any report.
- If you do not see the Reports block, you may need to click the
icon at the top to open the block tray.
- Option 2 - Reports page:
- Go to Manage My Organization > Reports. The Reports page displays with all reports available to you.
- From this page, you can also schedule reports to be run and emailed to you, as desired.
Reports Available
The following is the list of reports available to managers in the system.
Certificates | Shows all certificates earned by your learners, including a link to download each certificate, as needed. |
Completion by Course | For each course in the system, shows: * Every learner enrolled * Their completion status * The date they were enrolled * The date they started the course * The date they completed the course * Their grade |
Learner Enrollment Detail | Shows all enrollments by learner, including completion status, date enrolled, date started and date completed, elapsed time between the two, and score |
Learner Enrollment Summary | Shows the total number of enrollments for each learner, including as well as the number of courses they started, have not started, and completed. Also shows the learner's first access to the system and last login date. |
Learning Plans | Shows all learning plans you have created and assigned to learners, the start date, completion date, and plan content. From here, you can also click on a plan to edit, update, or archive it. |
Licenses | Comprehensive licenses report showing both licenses purchased and redemptions (including who redeemed each license) in a single report. Note that if there is nothing in the Date Purchased column, the data for that row represents a user who redeemed a license bought for them. |
My Courses | This report will only display if you are enrolled in courses on the site. It shows each course in which you are enrolled, your status in that course, the date you were enrolled, and your grade. |
My Programs | Shows each program in which you are enrolled, your status in each course in that program and in the program itself. |
My Learning Plans | Shows each learning plan assigned to you, the date it was assigned, date it is due, the items (courses, programs, milestones) it comprises and the status of each item. |

METALFORM EDU contains a very flexible reporting engine. If you require additional data that you cannot get through the reports currently available, please email us at support@metalformedu.org and we will determine if a new report can be created to meet your needs.
Filtering a Report
Most of the site reports include a number of filters to help you display precisely the data you are seeking. Report filters let you control what information is included in a report. For example, you might choose to limit a report to selected learners, courses, enrollment dates, completion dates, completion statuses and more.
Filters always appear at the top of a report.
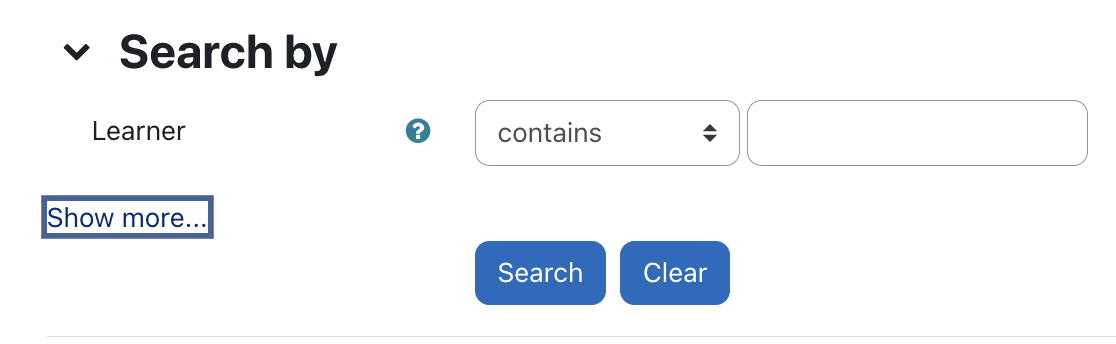
Additional filters are also sometimes available by clicking a Show more... link.
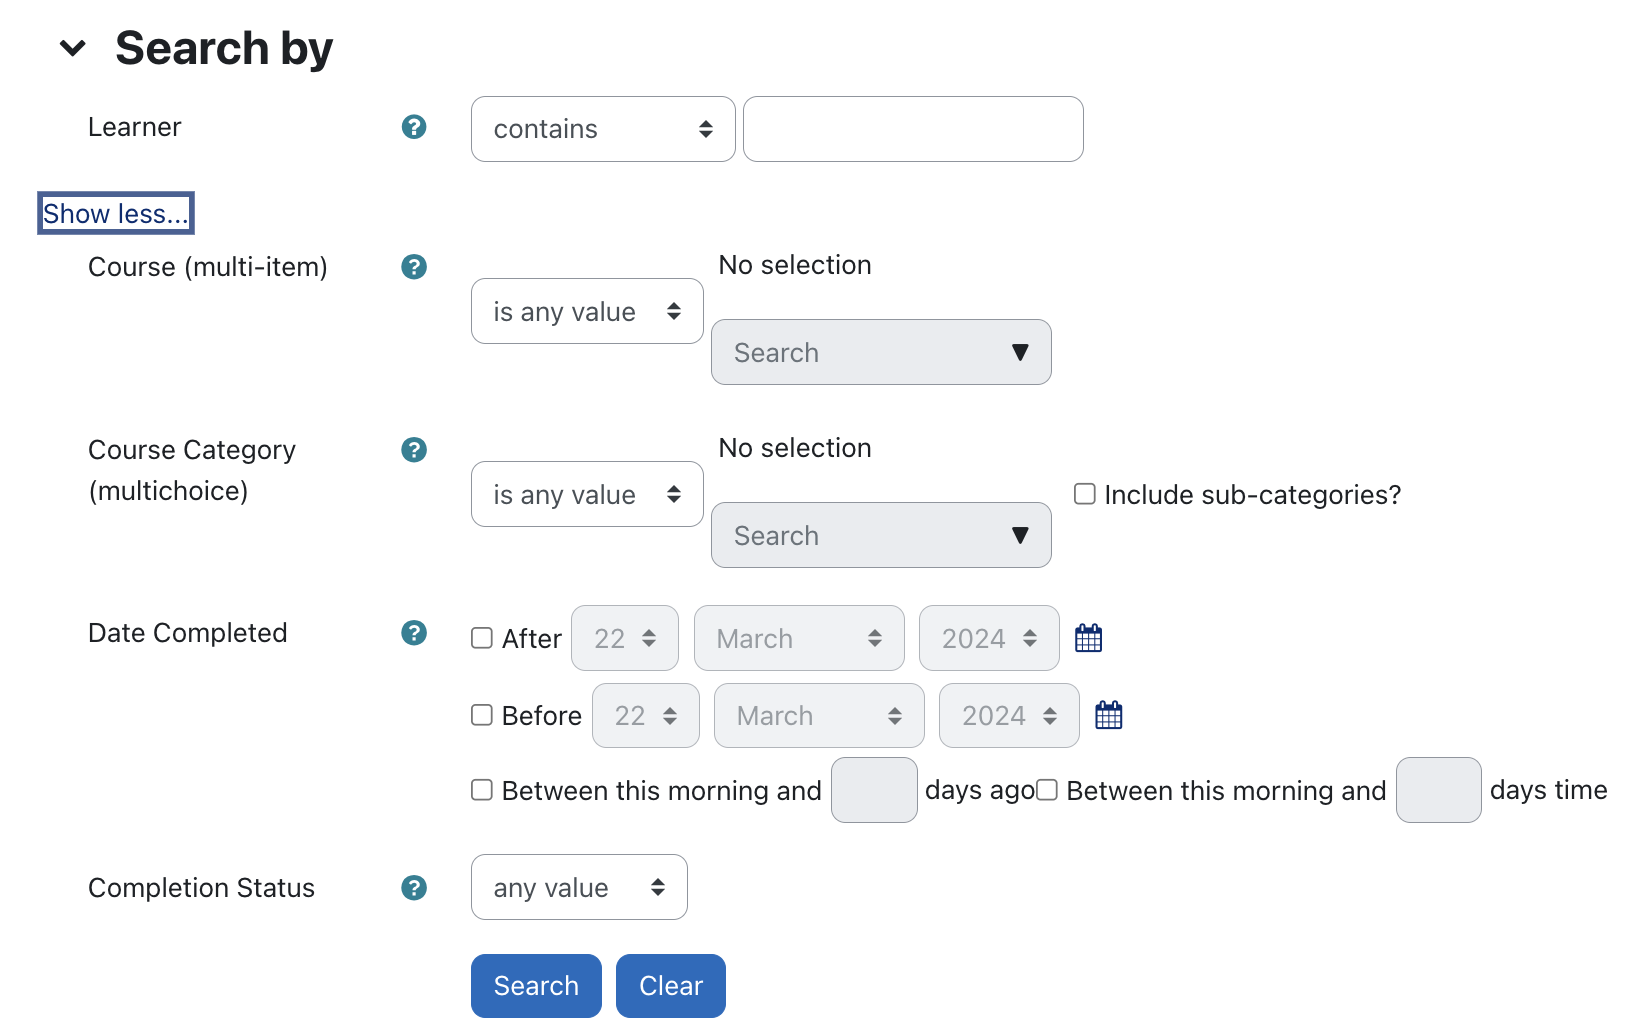
Additional filters are also sometimes available by clicking a Show more... link.
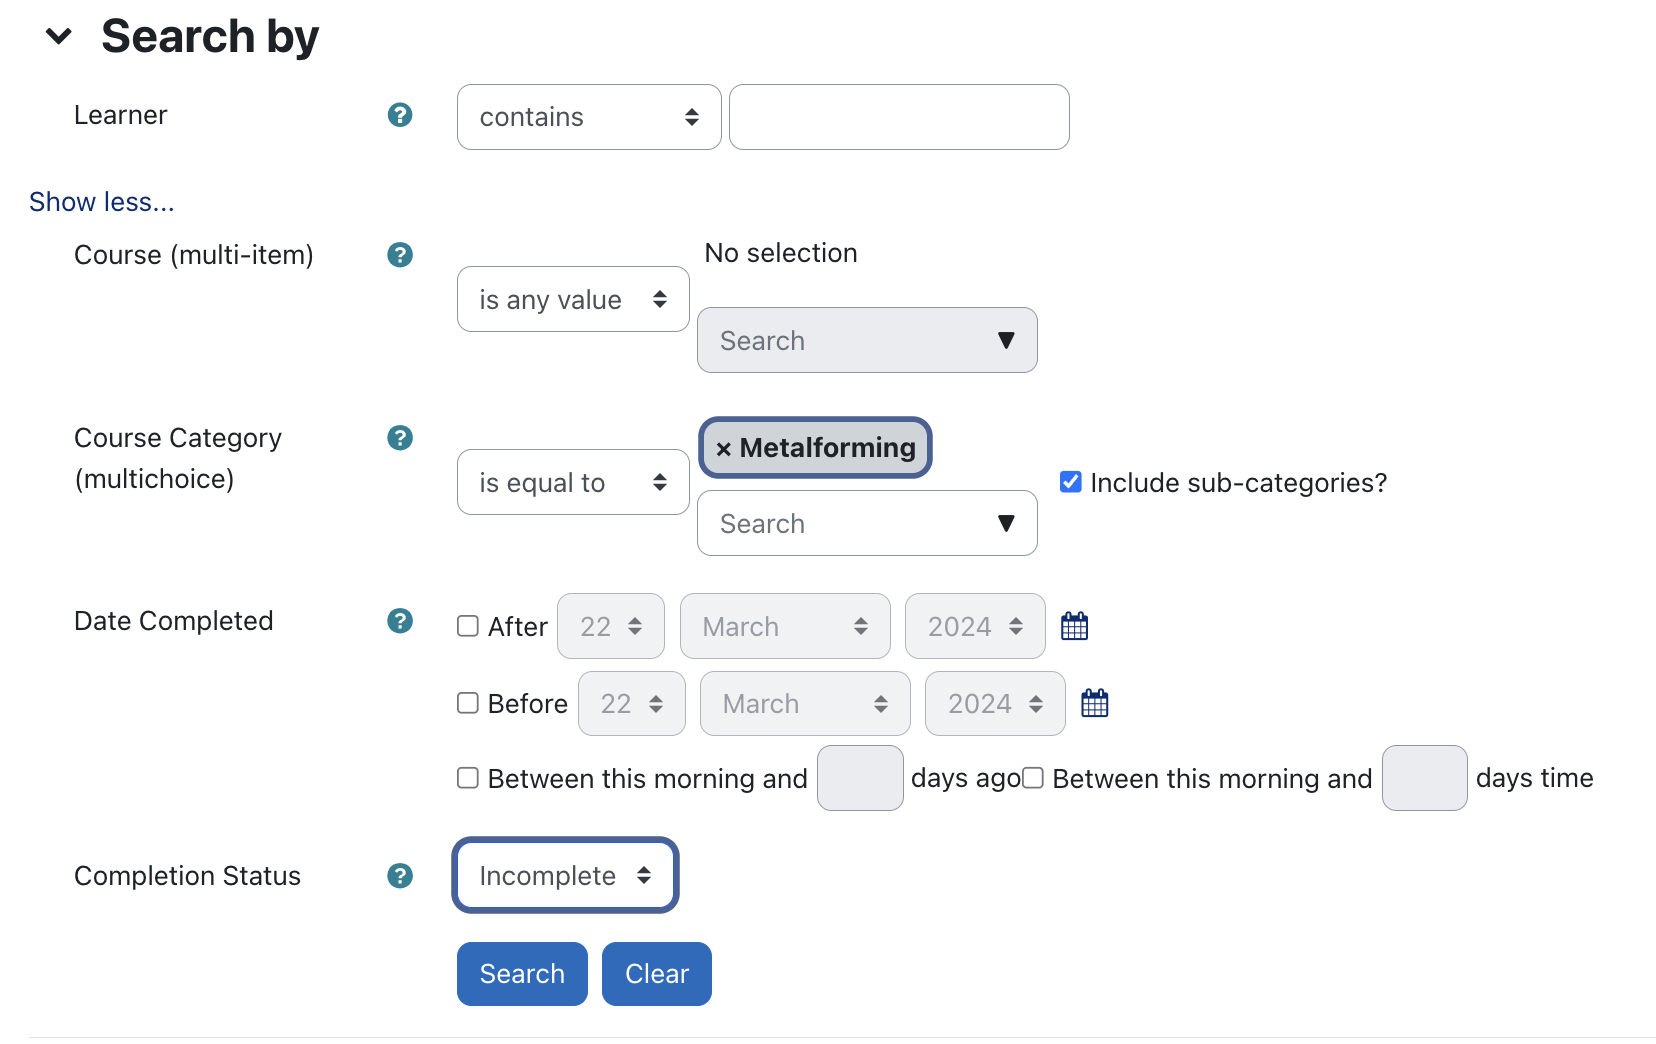
Configure the filters as per the data you are seeking, and then click Search. This will "filter" the report data by those constraints. For example, the filters shown below will show all people who were enrolled in a metalforming course but have not completed the course.
Exporting a Report
All reports can be exported to Excel format. Simply:
- Scroll to the bottom of the report, where you will see an Export as drop-down.
- From the drop-down, select the format in which you wish to export the report. Then click Export.
The export will start, enabling you to save the report to your device or network.
Printing a Report
To print a report, it's best to first export it to PDF or Excel. You can then use the print functions in those software programs to print it. If you wish to print straight from the browser, use the browser printing feature. However, note that it will likely only print the first page of the report.
Scheduling a Report
Don't want to have to log in to run reports? Schedule a report to send you an email on a specified frequency. For example, schedule the Completion by Course report to send you an email weekly with all course completions from that week.
To schedule a report:
- Go to Manage My Organization > Reports. The Reports page displays.
- Select the report you wish to schedule from the Add a new scheduled report to the list: drop-down.
The Add scheduled report page displays. - Set the format in which you wish to receive the report, the frequency and time.
- Then set the email(s) to which you want the report sent.
- Click Save changes.

Tip: Setting up a Saved Report
Scheduled reports are typically best for sending data on a periodic basis. As such, you may want the report, for example, to send completions since the last time the report was sent. To do that, you can set up what is called a saved report and then limit the scheduled report to send that data set. To do so:
- Access the report you wish to save specific parameters for.
- Filter the report for how you might want the scheduled data sent. The example below will produce a report with all completions in the last 7 days only.
- Click Search. The report data displays.
- Click the Save this search button that also displays.
The Editing saved search page displays. - Enter a name for your saved search (e.g. Completions in Last 7 Days).
- Click the checkbox if you want others to have access to this saved query.
- Then click Save changes.
- Now, when setting up your scheduled report, from the Data column, you will be able to choose either the saved query or all data, as shown below. Choosing the saved query will then ensure that only the data in that query will be sent at the frequency you requested.